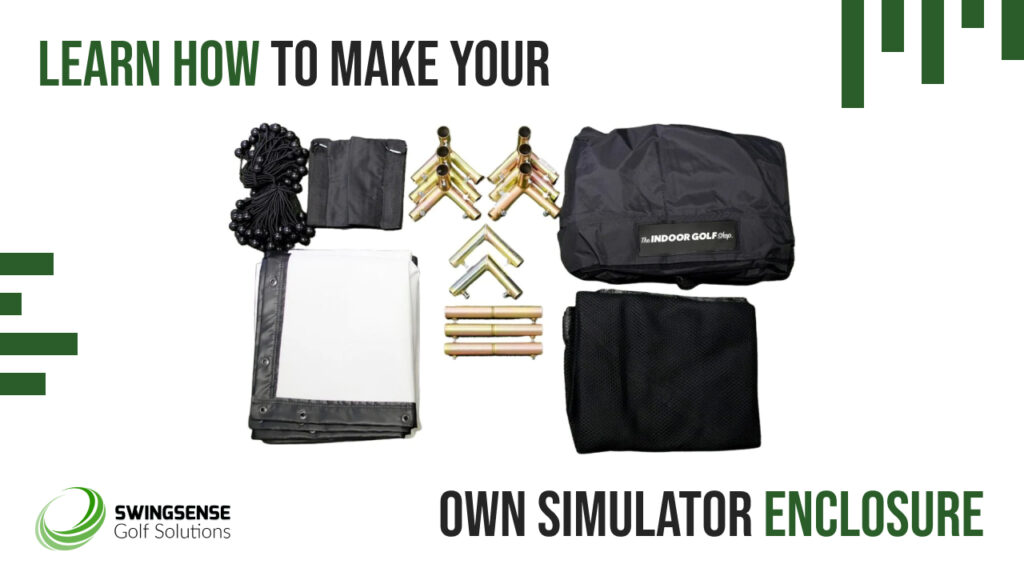
Golfers may improve their level of accessibility and safety by constructing their own do-it-yourself (DIY) enclosures for their simulators. You may be able to boost the quality of your results significantly if you design them yourself. Due to the cheaper expenses involved, an increasing number of players are opting to build their own enclosures. Building an enclosure that is entirely operational shouldn’t be too difficult if the builder is prepared to invest the time and commitment required to complete the project.
A lot of players desire a simple experience with a little setting, therefore the newest fad is to buy a readymade golf simulator. For golfers of all skill levels, a setup like this offers unparalleled ease. However, some people prefer to take matters into their own hands. One of the most common DIY projects nowadays is creating one’s own simulator enclosure.
In order to construct their own enclosures, golfers could want materials like blackout cloth, metal pipes, and corner fastening goods, among other things. It’s possible that players may have to spend money on protective gear, in addition to other tools of the trade that may be necessary at certain times in the process. Consider each of the stages that are mentioned below.
1. Get the equipment needed to build the enclosure yourself.
The following are some of the supplies you’ll need to create your own custom enclosure at home:
- Corner joiners
- To protect the walls and the ceiling in such a design, they would need to buy a few foam screens.
- Additionally, golfers have the option of using an open setup.
- An impact screen
- Impact screen components and fixings
- The DIY enclosure’s structure is built out of metal pipe segments.
- It is possible to adequately safeguard one from getting injured by swift balls using enclosure netting or blackout cloth.
- Instruments for assembling and making modifications
2. Get the supplies you'll need to build your own enclosure for the golf simulator.
The tools you’ll need to construct your own custom golf simulator enclosure are listed below. Remember that depending on the kind of enclosure you have, you may need to have some of these or even different gear.
- A metal-cutting electric saw is the first tool you need. You will need this if you want to create an enclosure with metal frames.
- The metal pipe has to be cut to the correct lengths for the different sides of the structure.
- You need a tape measure for measurements, along with paper and a pencil.
- Metal pipe components are often made from aluminum or other metals. Some folks may also choose to create their enclosure using conduit plumbing.
- Craftsmen’s tools, such as drills, wrenches, screwdrivers, screws, spanners, and bolts are also necessary.
- You’ll need zip ties to attach the impact screen to the enclosure chassis. Bungees are an additional choice for this.
- It’s essential to put on safety gear, such as workman gloves and goggles, to control your safety.
- Staples or some form of adhesion agent may be required to attach the cloth to an enclosure.
To obtain everything you need, review the aforementioned guidelines. Then you can follow online assembly instructions to swiftly build your DIY enclosure
