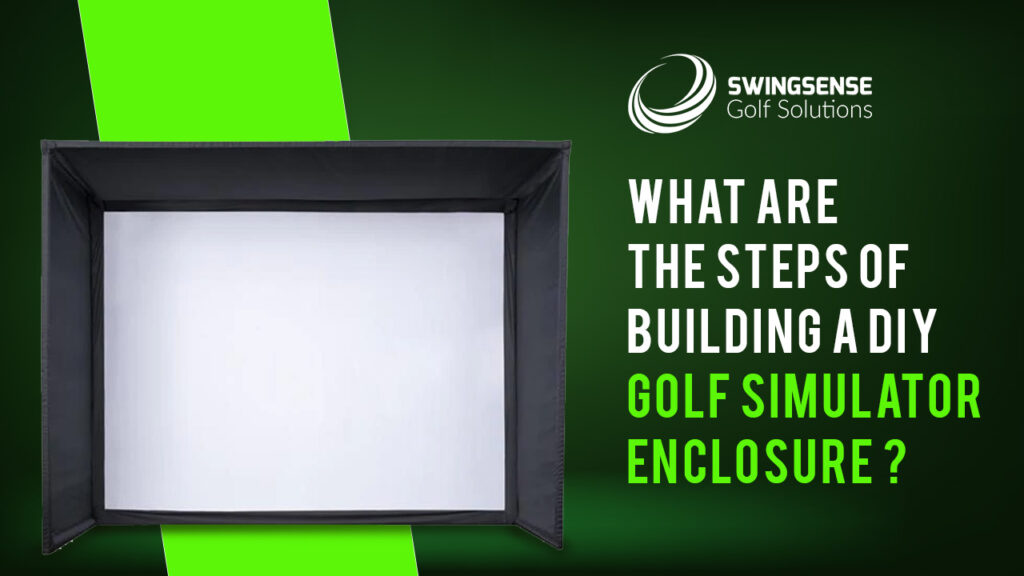
Buying a readymade golf simulator is the latest trend as thousands of golfers want a hassle-free experience without much setup. In most cases, even the enclosures are ready to use. But, what about golfers who are true connoisseurs of custom experiences?
Golfers can create their own custom DIY Golf simulator enclosure to ramp up the level of safety and convenience they can get. By building it by yourself, you can also improve your performance dynamically. More and more golfers are opting for creating their own enclosures as the costs are lower. If you are willing to put the effort and time into it, building a fully functional one should not be difficult.
Some of the things that might be required by golfers to design their own enclosures include blackout fabric, fixings for the corners, and metal piping. You can get the job done in a few hundred dollars of cost based on access to parts, tools, and components. One may require to invest in safety equipment and other workman tools that might be needed at different stages. Take a look at the steps below.
Get The Equipment Necessary For Building The DIY Enclosure
Here are some of the equipment you have to invest in for constructing your custom enclosure at home –
- Impact screen
- Impact screen fixings and components
- Corner connectors
- Metal pipe sections that function as the DIY enclosure frame
- Blackout fabric or enclosure netting can help to provide ample protection from speedy balls that can cause high levels of damage. Alternatively, golfers have the option of choosing an open setup. In that case, they would need to get some foam panels for the protection of both ceiling and walls.
Workman tools for performing the installation and adjustments
Get The Right Tools For Building Your DIY Golf Simulator Enclosure
These are some of the tools you need to have if you want to construct your DIY simulator enclosure. Keep in mind that you might need something more too or maybe not all of these.
- The first thing is an electric saw that can cut through metal. You will need this in case you are building an enclosure with metal frames. Cutting the metal piping is required to get the right lengths for the different sides of the structure.
- Tape measure for taking measurements
- Paper and pencil
- Metal piping material is usually made from aluminum or other metals. Some individuals can also opt for conduit piping for building their enclosure.
- Workman tools such as screwdrivers, spanners, drills, wrenches, screws, and bolts.
- Zip ties are needed for fixing your impact screen to the enclosure frame. You can also opt for bungees for this purpose.
- Safety equipment such as eye protection gear, safety gloves, etc. is important to ensure your safety.
- You may need staples or any other form of attachment components in order to attach the fabric to an enclosure.
Take a look at the steps above to get what you need, and follow online guides to easily build your DIY Golf Simulator enclosure.
